Data formats
Date & time
From the Google material design documentation
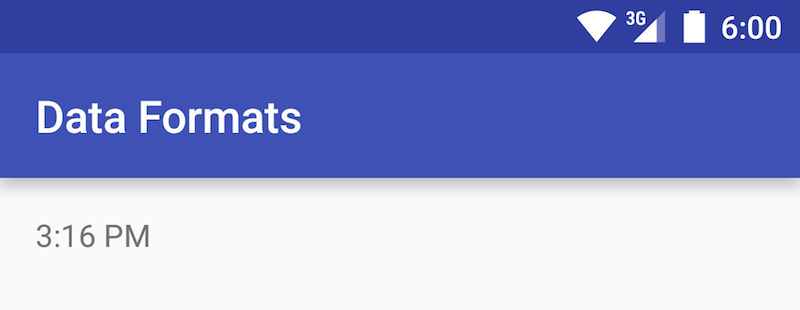
How you format the date and time depends on a few factors:
- If the time or date is the current one
- Whether you are using the 12-hour or 24-hour clock
- How specific you need to be
I. Declare a TextView in your layout file.
<TextView
    android:id="@+id/hora"
    android:layout_width="wrap_content"
    android:layout_height="wrap_content"
    />
II. In your Activity, get the time format which corresponds the locale and configuration of the device.
// import android.text.format.DateFormat
DateFormat timeFormat = DateFormat.getTimeFormat(context);
III. Get the text with the current time and insert it in the TextView
TextView hourTextView = (TextView) findViewById(R.id.hourTextView);
horaTextView.setText(timeFormat.format(new Date()));
I. Declare a TextView in your layout file.
<TextView
    android:id="@+id/fecha"
    android:layout_width="wrap_content"
    android:layout_height="wrap_content"
    />
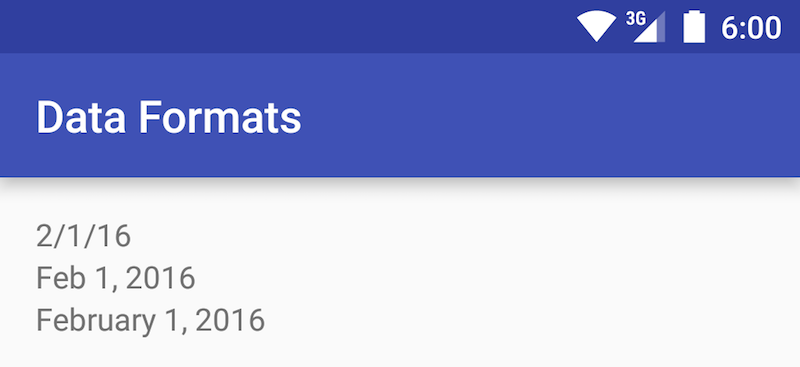
II. In your Activity, get the format of the date which corresponds to the locale and configuration of the devices. Depending on the available space you can use medium, long or numeric format.
DateFormat numericDateFormat =
    DateFormat.getDateFormat(context);

DateFormat mediumDateFormat =
    DateFormat.getMediumDateFormat(context);

DateFormat longDateFormat =
    DateFormat.getLongDateFormat(context);
III. Get the text with the actual date and put it in your TextView
TextView fechaTextView = (TextView) findViewById(R.id.dateTextView);
fechaTextView.setText(longDateFormat.format(new Date()));
Note
The DateFormat class allows many configurations according to your specific needs, for more information see the development guides.
Data redaction and truncation
Redacting numbers
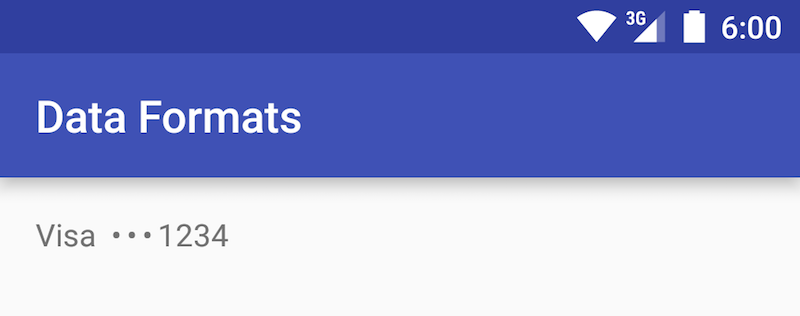
!!! note "From Google material design documentation". Midline ellipses [• • •] are three-bullet glyphs used to represent numeric truncation and the redaction of sensitive data, such as credit card, debit card, and Social Security numbers.
I. Declare a TextView in the layout of your Activity.
<TextView
   android:id="@+id/numero_tarjeta"
   android:layout_width="wrap_content"
   android:layout_height="wrap_content"
   />
II. Get the characters corresponding to the points and short spaces.
String space = "\u0020";
String thinSpace = "\u2006";
String bullet = "\u2022";
III. Build the final text pattern separating the points with short spaces. Between the text and ellipsis must have two normal spaces, and between the ellipsis and the remaining numbers must be just one short space.
String creditCardFinalDigits = "1234";
String finalText = "Visa" + space + space + bullet + thinSpace + bullet + thinSpace + bullet + thinSpace + creditCardFinalDigits;
IV. Add your text to the TextView.
TextView cardTextView = (TextView) findViewById(R.id.creditcard_textview);
cardTextView.setText(finalText);
Redacting letters
From Google material design documentation.
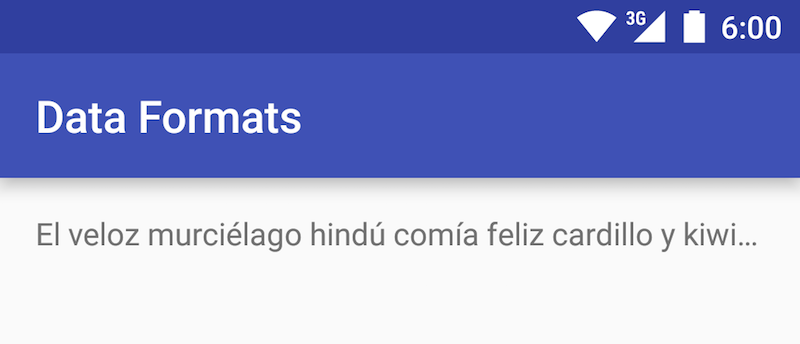
Baseline ellipses [...] represent letters, words or phrases that aren’t shown. They also represent text truncation of a name or email address.
To automatically place ellipses depending on the space available:
I. Declare a TextView in the layout of your Activity with the attributes lines="1" and ellipsize="end".
<TextView
    android:id="@+id/titleTextView"
    android:layout_width="wrap_content"
    android:layout_height="wrap_content"
    android:lines="1"
    android:ellipsize="end"
    />
II. Add a large text to the TextView.
TextView titleTextView = (TextView) findViewById(R.id.titleTextView);
titleTextView.setText(R.string.bat);